Moving Day

What I'm miss from here

Hopefully by the time you read this the van will be packed and we will have the keys to our new house.

This makes it sound like we’re moving miles and miles away, when in reality we’re going to be about six streets or so from our old house.

It feels strange to be leaving here – it’s definitely what we need to do as a family, and I’m looking forward to our kitchen and lounge being on the same floor, as well as having a garden. However W has owned the house for 9 years, and I was a visitor, then a weekend resident, and then a permanent resident, all that time.

I will definately miss being up in the canope of the trees. Getting to see up close as they changed through out the year.

I will miss how the bathroom glows green at the height of spring, as the light fights it’s way through all the new leaves, and watching the pigeons fill their round bellies with the spring blossoms.

I will miss watching squirrels while we eat breakfast (though this might still happen when we move, especially if we remember to take down the birdfeeders and take them with us.)

This house has been good to us.

I’m looking forward to adventures in our new house.

(Rare saturday post!) Pattern – Nor’Wester Bonnet

A Bonnet (but not for this one)

Yarn: Rowan Felted Tweed (you won’t need very much so it’s great for using up odd bits of stash)

Needle: 3.75mm or whatever you need to get gauge

Gauge: 22st per 4″ x 32 rows per 4″ (though row gauge is less important to be honest)

Size: Newborn to 5 months? (I’ll know better in a few months time when no2 arrives. 🙂

Important Measurements (useful for if you’re planning to knit it in a different weight, or if you can’t get gauge):

Cast on length = 13 1/2″

Height of main body of the bonnet = 5″

Length of each section when you start the back of the bonnet (and start gobbling up the side stitches) = Slightly more than 1/3, slightly less than 1/3, slightly more than a 1/3 (same number as the first section.)

Length of the middle back at the bottom (after your decreases along the length of the bottom): 3″

(I hope that all makes sense.)
A Bonnet (but not for this one)
(Tiny hat on a big noggin. 🙂

Pattern:

Cast on 74st and knit in garter stitch until you have 3 bump rows.

Continue in st st until the piece measures 5″ in length from cast on. (Obviously you can add any pattern embelishments that you like in this section. You could even add a steek and do some colour work – you would cut the steek at the end and then add the lower garter band on – I will hopefully try this very soon.)

End the main section at the end of a purl row.

K 27st then place marker. K 20 then place another marker. SSK then turn work and slip the stitch you just knit. Continue purling back along the row till you get to the stitch after the marker. P2tog then turn work again, and slip the stitch you just purled together. This has completed one pair of rows.

Repeat back and forth, SSK or P2tog the stitches after each marker. You are gobbling up a stitch either side of the middle section every two rows, creating a neat 90 degree turn that will be the back of the bonnet.

On the 8th, 16th and 24th pair of rows decrease two stitches from the middle section. (You can count the larger stitches where the side stitches meet the back section to keep track of how many pairs of rows you have done – since there is one larger stitch at either side for each pair of rows.)

(I decreased a stitch just before the side stitch at either side, by k2tog on the right side, and PSSK on the wrong side, but whatever works for you.)

Carry on till all the side stitches are gobbled up. Break yarn but keep the live stitches on the needle.

With the right side facing you, pick up and knit stitches along the bottom of the hat. You will knit the live stitches as you come to them. K 1 stitch per garter stitch bump, then 1 stitch every 2 st st rows (21 stitches approx. till you get to the live stitches at the middle), K all the live stitches, then carry on with 1 stitch every 2 st st rows, and finally 1 stitch every garter stitch bump at the other end. (60st in total – approx.)

In garter stitch, knit till you have 3 garter stitch bump rows on the wrong side, then cast off. This will make the third garter stitch bump on the right side. Don’t pull the yarn through the final stitch.

Instead pick up and knit two additional stitches above the final stitch and use them as the basis for an I-cord tie. Knit the I-cord to about 6″ in length (or whatever length you prefer.)

Pick up three stitches at the opposite edge of the bonnet and make a second I-cord tie.

Weave in all your ends and block.

Then go for a walk with your newly warm-headed baby. 🙂
A Bonnet (but not for this one)

FO: A Bonnet for a Baby

A Bonnet (but not for this one)

It seems to me that I can wait until no2 is born (in 3 1/2 months) and post pretty pictures of their tiny head in this bonnet – made harder by the fact there will be a newborn in the house – or I can post less flattering pictures of it now, and get the pattern out while it’s all fresh in my mind.

Therefore be prepared for less-than-brilliant pictures. (Hopefully I’ll repost the pattern in the autumn, once things have settled down. Either way, it’s a free pattern.)

A Bonnet (but not for this one)

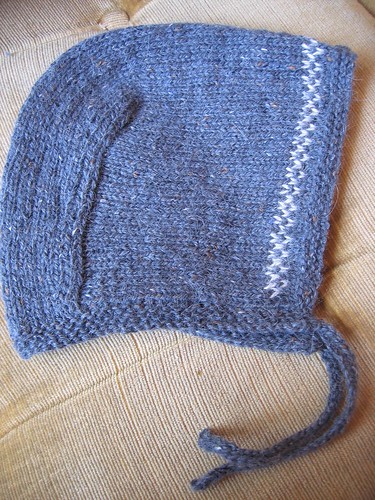
A Simple Bonnet that I haven’t got a name for yet: by Katie Hanrott

Yarn: Rowan Felted Tweed DK (

You need left overs. I knit this one with about 2/3 of a ball, and I still have a decent amount left. If you bought a ball, and just did the bonnet plain, you could probably knit 3 from the one ball – though I haven’t tried that. I’m just guessing. Felted Tweed goes along way.

Needle: 3.75mm (A lovely, 40cm pointy knit picks.)

Size: I think it’s sort of new born to 5(ish) months. But then our family have big heads. I based the sizing on other existing bonnet patterns, but I won’t know for sure till no2 arrives in the autumn.

A Bonnet (but not for this one)

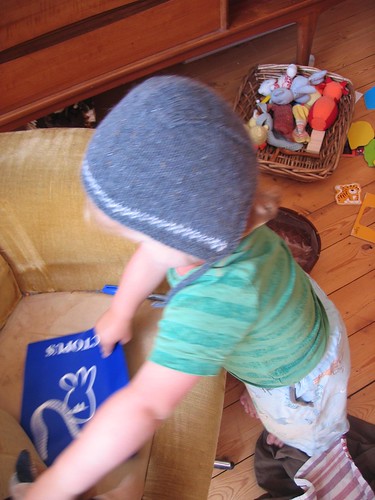
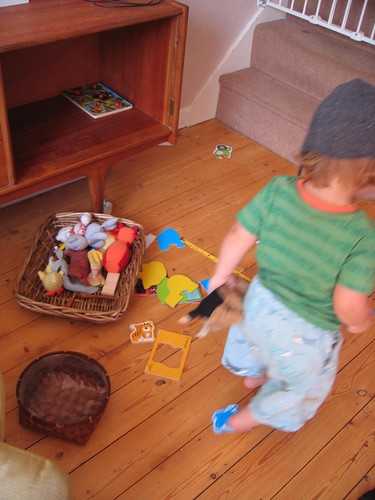
Once it was dry and I was photographing it FB was all ‘hat! hat!’ hence the illfitting modelling.  W wants to know if I’m planning to make FB a smock, for the full pilgrim look. 😉

A Bonnet (but not for this one)

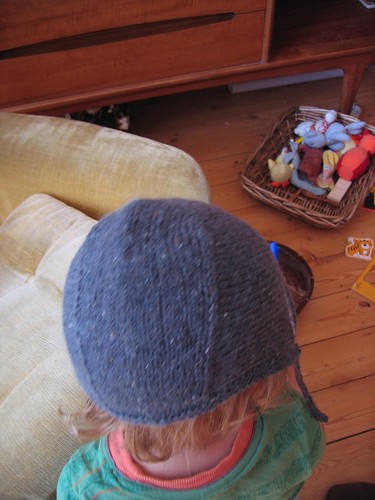
Here you can (sort of) see the construction at the back. I’m finding it very satisfying, having the flap gobble up the stitches at either side to make the shaping. It makes the whole thing sprint along which is just what you need with a baby knit.

A Bonnet (but not for this one)

And now he’s off.

I have a second version of the bonnet on my needles at the moment, (I’ve just started the back flap.) Things are going to be utterly nuts here at the weekend, as we rush around getting things sorted for the move on monday, but if I can get this second one knit up, I might be able to get the pattern on the blog before we move (and lose our internet connection till they set us up with a new one. Hopefully relatively quickly.)

So the pattern is on it’s way…